Sunday, May 24, 2015

Scrappy Canary | April "Mayfair" Scrapbook Kit


I literally swooned when I opened this month's Scrapbook Kit- so many bright and bold colours and patterns perfect for scrapping my boys.  I tend to scrap my layouts (roughly) chronologically and I am currently scrapping photos from January and this includes lots of Back-to-School type pics.  

Today I want to share a layout that tells my youngest boy (who started Kindergarten this year) that if he simply tries his best, he will do just fine.  I thought the "Shine Bright Like a Diamond" chipboard sticker in the kit would make a perfect title.


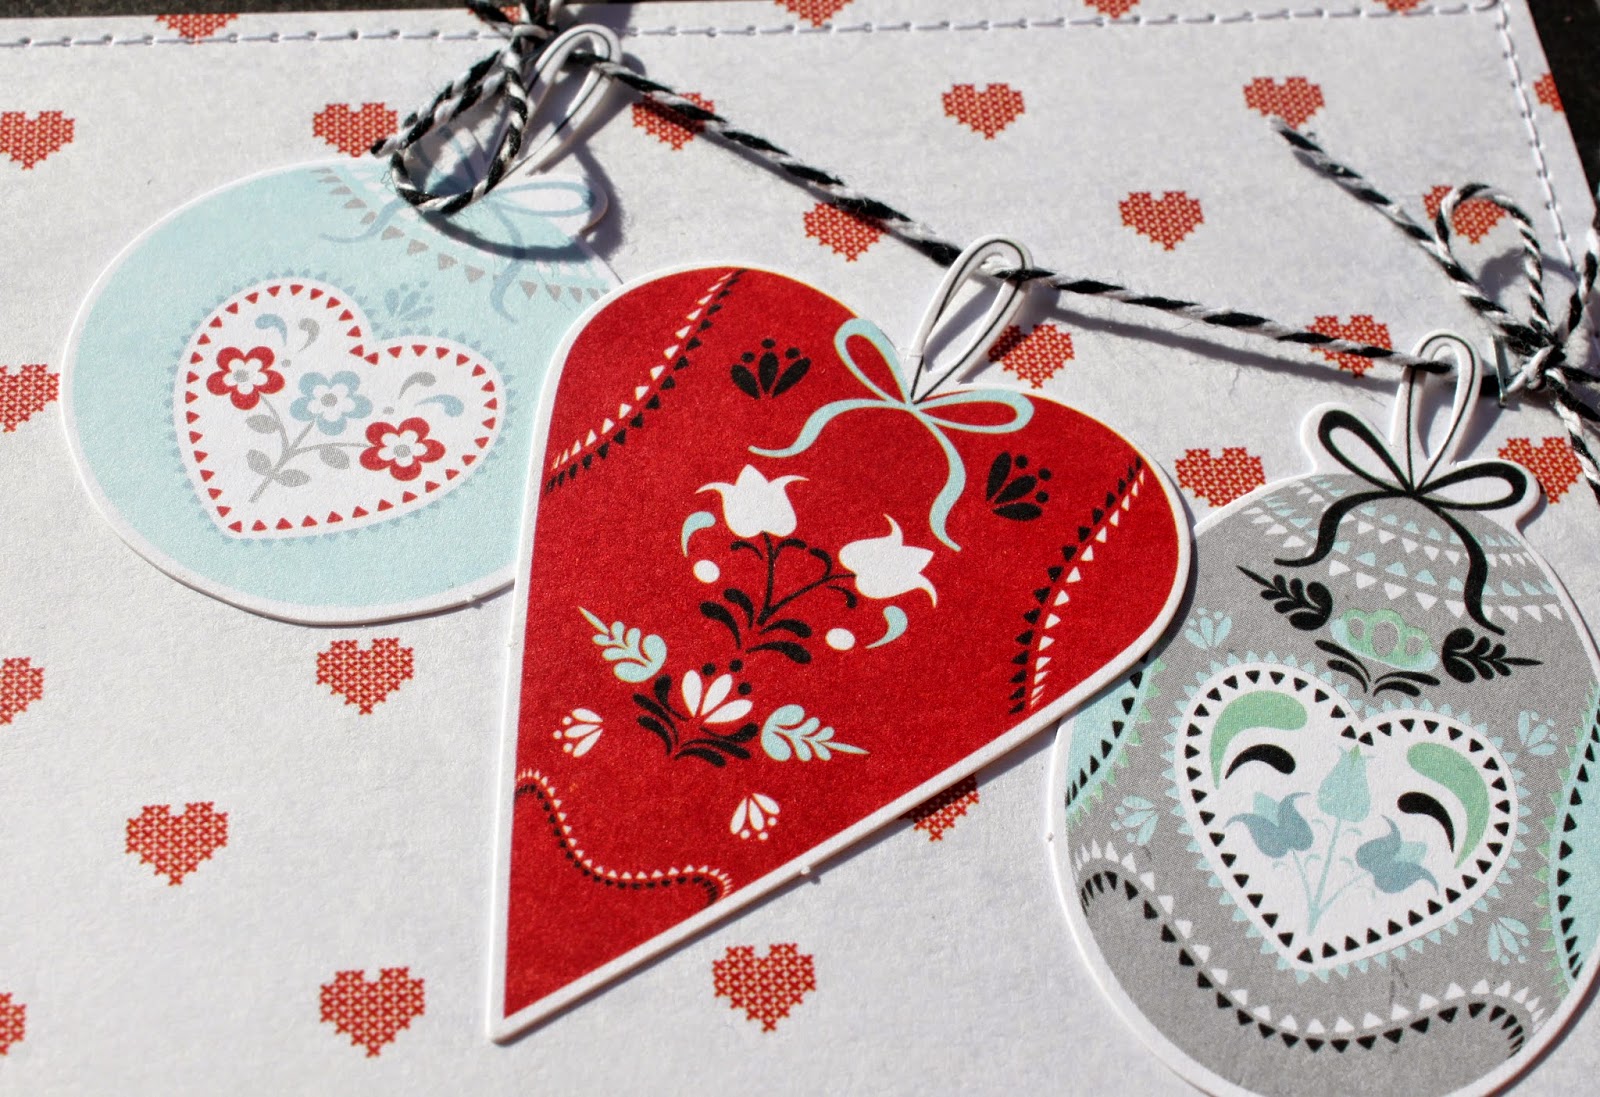
I also decided to make some embellishments by fussy-cutting the floral patterned paper in the kit and then layering it with stickers.


I cut a 3"x4" piece from the spotted transparency sheet to sit behind my title.


The twine in the kit was wrapped around this corrugated kraft coloured tag and I decided to used it for my journalling.


Some machine stitching and splats of Heidi Swapp Colour Shine were the perfect finishing touches.

Don't forget to use the code LOUISE10 when you shop at  Scrappy Canary for 10% off your purchase total.


Saturday, May 23, 2015

Scrappy Canary | April "Mayfair" Kit


I'm back with another layout share using the Scrappy Canary April "Mayfair" Scrapbook Kit.  I also used the free printables that newsletter subscribers recently received.  This is a 8.5"x11" page and I decided to make a  feature of the papers in the kit and to create most of my background with paper- something I rarely do!  I love the large letter stickers in the kit and made a simple title with them- I really like how those colours pop against the dark blue background paper.


I made a small banner from the polka-dot transparency and fussy-cut the "Lovely" word from one of the patterned papers to make this cluster.


Here are some of the printables in action and I used one of the cool paperclips in the kit here as well.

My date label was also from the printables sheet and I discovered that puffy stickers are really easy to stitch through ;-)

I am having so much fun with the bold colours in this month's kit.  Don't forget to use the code LOUISE10 when you shop at Scrappy Canary for 10% off your purchase total.

Friday, May 22, 2015

National Scrapbooking Day | Scrappy Canary Cyber Crop


On 2 May the Scrappy Canary team celebrated National Scrapbookng Day with a Cyber Crop in our Scrappy Canary VIP Lounge on Facebook.  We had a number of challenges for the Canaries to tackle and we had a blast on the day and for the whole of the following week as scrappers uploaded their projects.


Here are the projects I completed using mostly goodies from my Scrappy Canary Kits and older stuff from my stash.....


I hope we get to do it all again next year!

Don't forget to use the code LOUISE10 when you shop at  Scrappy Canary for 10% off your purchase total.


Project Life Weeks 17 and 18

Eeeeek it's been a bit quiet here lately but I guess that means life is busy and full right?  I did actually complete these pages last week but we had a very wet and dark weekend and I just didn't have enough light (or a dry spot outside) to photograph the pages.

These two weeks face each other in my album so I have used the Kraft Edition for both single page layouts.  I haven't added any embellishments and since both weeks were low on photos I added bits and pieces from Facebook and from my husband's phone photos.  

Here is Week 17.....


And here is Week 18.....


We're back to fine autumn weather now, but the mornings are getting a bit crisp.  I don't really feel the cold but I am in layers and long sleeves for the school drop-offs now which can only mean winter is just around the corner.

Friday, May 15, 2015

Feeling Sketchy | Sketch #121


It's time for another sketch challenge at Feeling Sketchy and here is the sketch we're playing with.....


This challenge is sponsored by Bugaboo Digi Stamps and they kindly let me use this digital stamp called "Best Buds" for my card. 


I started by re-sizing my stamp in Photoshop and printing on Neenah Solar White cardstock with a laser printer.  I coloured the image with Copic Markers which work very well with the toner-printed image.  


I stamped and white embossed my sentiment from an old stamp set by Jane's Doodles and rummaged through my box of paper scraps to put together the layers for my card.


I hope you'll pop over to the Feeling Sketchy Blog to see all the projects from the DT and to check out the challenge details.

Wednesday, May 6, 2015

Scrappy Canary | March "Playful" Kit Layout Share


I'm back with another share using the Scrappy Canary March "Playful" Scrapbook Kit.  This time I pulled out items to create a pink, orange and gold colour palette and used the gold foil on the frame as my title.  


I added journalling strips and sewed a box around them to mimic the frame around the photo above the text.  I added two of the sweet little wood veneer dots to highlight the last sentence.


I used one of the overlays with gold foil spots UNDER my photo instead of over it so that the gold spots would become an embellishment layer over the patterned papers rather than over the photo.


This Pinkfresh Studio die-cut arrow adds some interest to the top part of my page and directs the viewer's eye to the photo. 


This is probably my favourite layout from this kit- don't be afraid to use pink on your layouts with boys- after all, the journalling was from my Mama heart!

Tuesday, May 5, 2015

Kaisercraft "North Pole" Collection | Video

Today I have a scrapbooking process video to share using the "North Pole" Collection from Kaisercraft.  I love the Nordic vibe of this collection!


You can watch the video below or at YouTube


Thanks for watching!

Monday, May 4, 2015

Masculine Birthday Card | Video

Hi everyone!  It's been a long time since I have done a process video, so since I had to make a masculine birthday card this week, I decided to pop the camera on.


You can watch the video below or at YouTube.


Thanks for stopping by!

Sunday, May 3, 2015

Scrappy Canary | March "Playful" Kit Layout Share


When I saw the giant "Love Love Love Love" on one of the patterned papers in the Scrappy Canary March "Playful" Kit I knew I just had to scrap this photo of my little boy with his Sweetie.  

The background of my photo was quite busy so I used an overlay and frame from the kit to hide some of it and to draw focus to the little cuties in the photo.


I layered up some of the diecuts to make an embellishment cluster...


.....and another little cluster to which I added one of the fun wooden dots...


.....and I clipped all the layers for my photo with one of the giant gold paperclips included in the kit.


I don't know how long this little romance will last, but it's serious enough right now for me to want to document it ;-)

Project Life Week 16

Happy National Scrapbooking Day everyone!  We're lucky here in Australia- we're a day ahead of most scrappers so we get to celebrate all weekend :-)

I had a great day yesterday in the Scrappy Canary VIP Lounge on Facebook and managed to complete all of the challenges in between chasing after the boys and their friends.

I completed Week 16 a few days ago but am only getting around to sharing it now, so apologies for that.  I used the Jade Edition and have a two-page layout to share.

Here is the LHS.....


Here is the RHS.....


And here is the entire week.....


I hope you have some time to join in the NSD celebrations happening all over the internet this weekend :-)

Saturday, May 2, 2015

Scrappy Canary | March "Playful" Kit Layout Share


I'm back again with another page I made using the Scrappy Canary March "Playful" Scrapbook Kit.  It's another 8.5' x 11" page, but it is oriented horizontally this time.  I started with a base of watercolour paper and added texture paste through a stencil, followed with slashes of watered down Distress Inks and gold Heidi Swapp Colour Shine which is available from Scrappy Canary.  My two photos are tied together with one of the 6" x 4" overlays.


I created a cluster from the gold-foil die-cuts in the kit and some of the washi tape and attached them together with one of the gold paperclips.


I made another small cluster on the opposite side to make a spot for the date.


Here's another look at that yummy texture on my background....


Don't be afraid to use watercolour paper as the base for your layouts- it will take almost anything you can throw at it!

Friday, May 1, 2015

Feeling Sketchy | Sketch #120


It's time for a new sketch at Feeling Sketchy and here is the sketch we're playing with.....


Our challenge sponsor is Polkadoodles.


I found the sketch to be a little bit busy for my usual style, so I decided on a pared back interpretation for my shaker card.  I started with a panel of white cardstock and applied Distress Inks to create a night sky.  


I flicked some water on top to add texture and white spray ink for stars.


I made a circle window for the shaker portion of my card using a circle punch, and then coloured the panel beneath with distress inks.  I added small silver star confetti to the inside of my shaker and some larger star confetti to the front of my card.


The owl and branch from a Hero Arts stamp set were stamped and Copic coloured before being fussy-cut and added to the card front.  I stamped a few extra leaves to fill that space a bit better.  The sentiment was white heat-embossed. 


I added some Glossy Accents to the owl's eyes for extra shine.


For my second card I used a digital stamp from Polkadoodles, printed it on cardstock with my laser printer and then applied Therm-o-Web Gold Deco-Foil using my laminator.  Jennifer McGuire has a terrific tutorial on how to do this here.  Although the image I was using had very thin lines, I was able to apply the foil successfully, but it's hard to see it unless you tilt it towards a light source.  I will be doing this again for sure with thicker images.


 I used patterned papers from Dear Lizzy's Serendipity Collection and added gold embossing to the edges of my card base. 


I used my Silhouette Cameo to cut my sentiment three times.  I adhered them together to make a sturdy one, then gold heat embossed it before adding it to my card. I also used a doily file from the Silhouette store and cut it from one of my patterned papers.


Be sure to visit the Feeling Sketchy Blog for all the DT projects and to get all the challenge details.